Kitchen Sink Quilt Sew Along: Make Unit C and Assemble Your Block
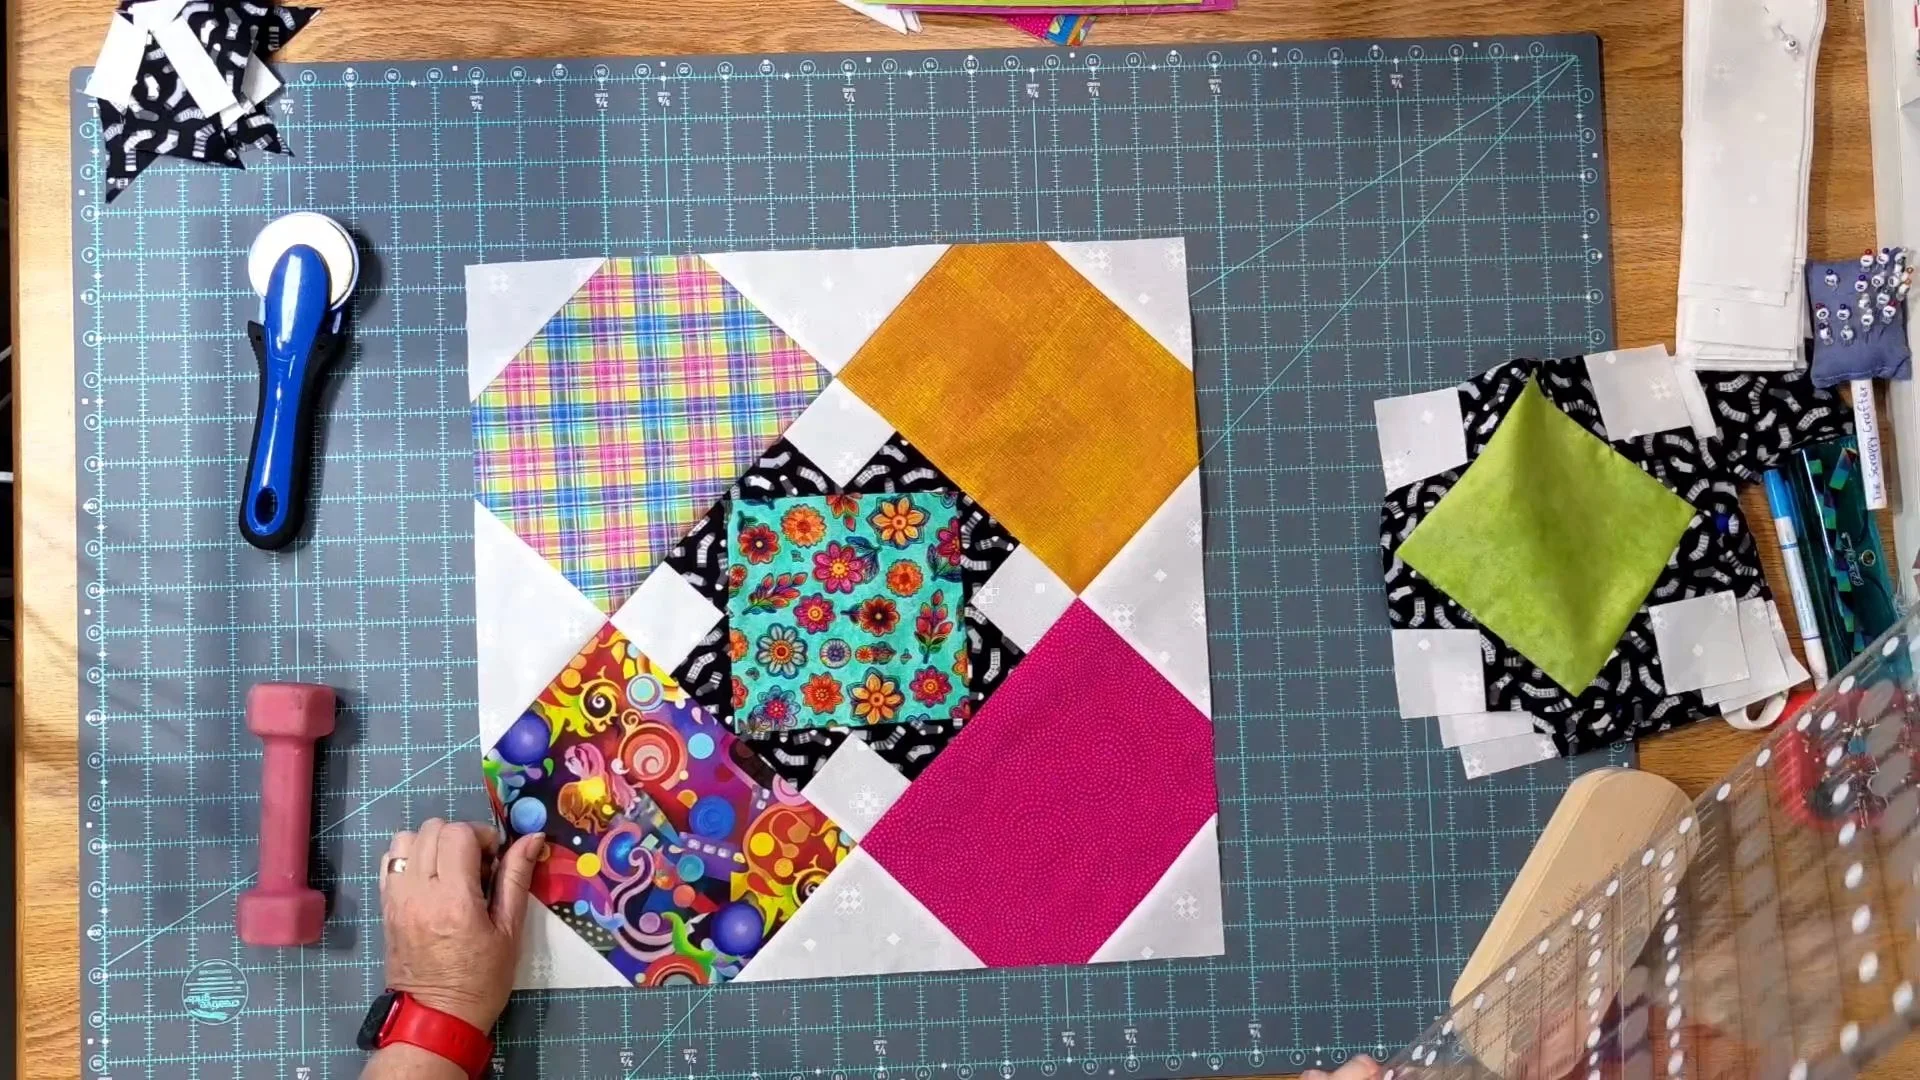
One finished Kitchen Sink block, straight from the Unit C and block-assembly video.
Hi everybody! It’s April, and today we’re bringing our Kitchen Sink quilt block together. We’ve worked on the earlier units, and now it’s time to make Unit C and see how those pieces turn into one big, colorful block. This is the part where it really starts to look like a quilt!
Make Unit C
Keep your Home: Piece by Piece book from Moda nearby for the cutting measurements and pattern diagrams. For Unit C, we’re pairing square G with triangle B. I fold each piece to make a little crease at the center, line up those centers with right sides together, and pin before sewing a quarter-inch seam.
You’ll need four Unit C pieces for each block. Take your time pressing so you don’t stretch the triangle edges. A gentle press makes the next steps much easier.
Lay out the whole block
For each Kitchen Sink block, gather four Unit C pieces, four A triangles, and one Unit B center. Lay everything out before you start joining pieces, and check that the right side of every fabric is facing up. White-on-white fabric can be sneaky!
Attach the A triangles to two of the Unit C pieces to form the outer rows. Then join the center row. Seeing the rows laid out together is a good way to check your placement before you head back to the sewing machine.
Help those seams meet
Here’s the little detail that makes a big difference: press the outer-row seams outward and the center-row seams inward. When you put the rows right sides together, the opposing seams can nest against one another.
I demonstrate pinning the intersections as well as nesting as I sew. Slow down through the bulky spots, remove pins before the needle reaches them, and keep the layers lined up. The goal is a block you’re happy with—not a reason to be hard on yourself over a tiny mismatch.
After joining the rows, give the block a final press, trim the protruding corners, and square it up according to the pattern. One block down, eleven more to go! The Kitchen Sink quilt uses twelve blocks in all.
A little inspiration from Dawn
In the video, I also share Dawn’s completed Kitchen Sink Quilt top. She sent a picture of her beautiful work, and I love seeing how different fabric choices bring the same pattern to life. Thank you, Dawn, for giving the rest of us a little encouragement as we keep sewing!
Keep sewing along
If you’re catching up, start with my earlier post, Kitchen Sink Quilt Sew Along: Let’s Make Units A and B. Then join me on the April’s Craft Room YouTube channel for the Unit C and block-assembly demonstration.
You can find the Home: Piece by Piece book at Busy Lady Quilt Shop. Follow the book for all cutting sizes and the full quilt instructions; this post is a companion to our sew along.
Are you sewing along? Tell me how your blocks are coming together and which fabrics you’re using. Next up in our Home: Piece by Piece adventures is Shindig, with some fun strip piecing.
Have a great day, eat some chocolate, and be kind to everyone. Until next time—bye!