Kitchen Sink Quilt Sew Along: Let’s Make Units A and B
APRIL’S CRAFT ROOM · QUILTING
Kitchen Sink Quilt Sew Along: Let’s Make Units A and B
Sew along with April to make Kitchen Sink Units A and B, with tips for triangle placement, quarter-inch seams, pressing, and assembly.
Hi, everybody! It’s April, and we’re ready to start sewing our Kitchen Sink quilt units. We’ve already worked through the fabric cutting, so this time we’re turning those labeled pieces into Units A and B. I’m using black-and-white fabric with a bright green center in this demonstration, and I love seeing the pieces come together.
Gather your pattern and labeled pieces
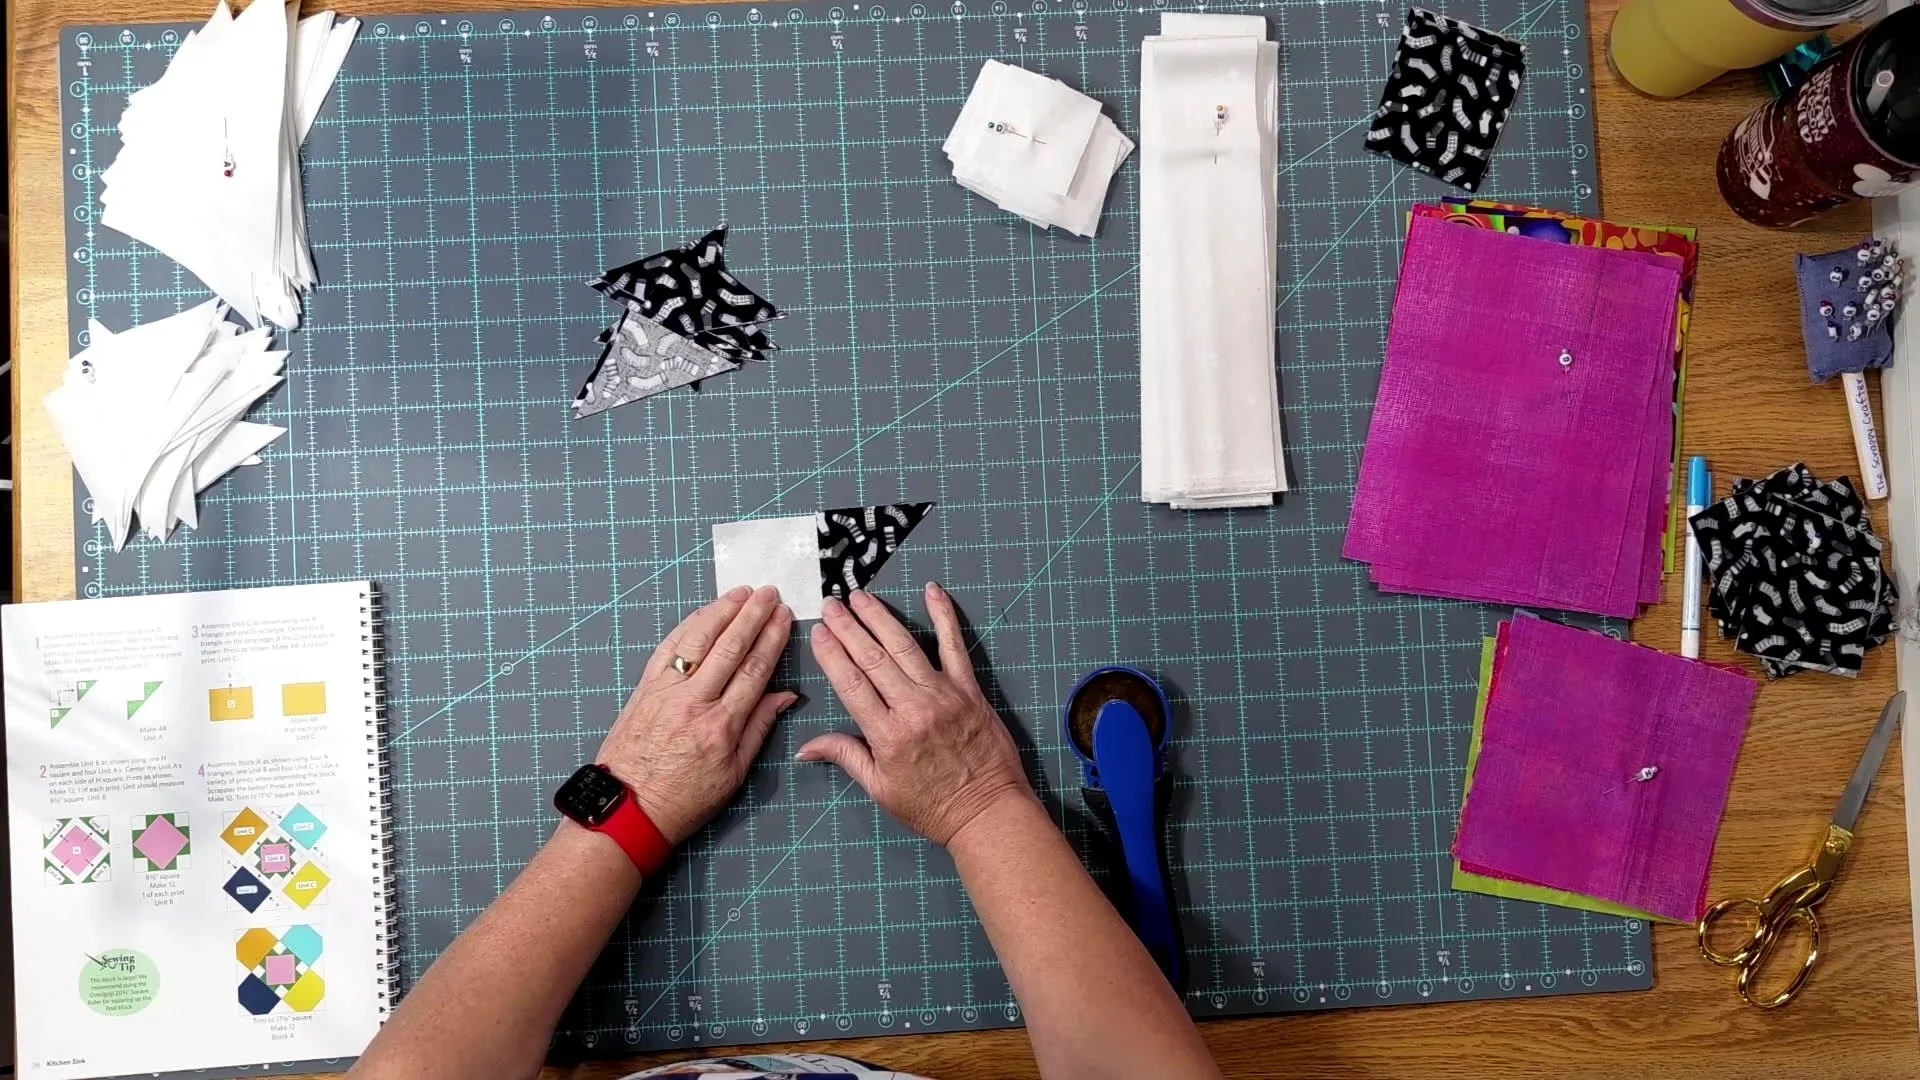
The Kitchen Sink pattern is in Moda’s Home, Piece by Piece book. Keep your copy beside you for the cutting sizes and pattern directions; this post is a companion to the sew-along demonstration. If you’re joining us here, go through the cutting lesson first so your pieces are ready.
One important preparation check: the F squares need to be cut diagonally into triangles. For Unit A, we’re working with a D square and two F triangles. Lay out a set before sewing so you can see how those pieces fit together.
Laying out the square and triangle pieces for Unit A.
Sew the first side of Unit A
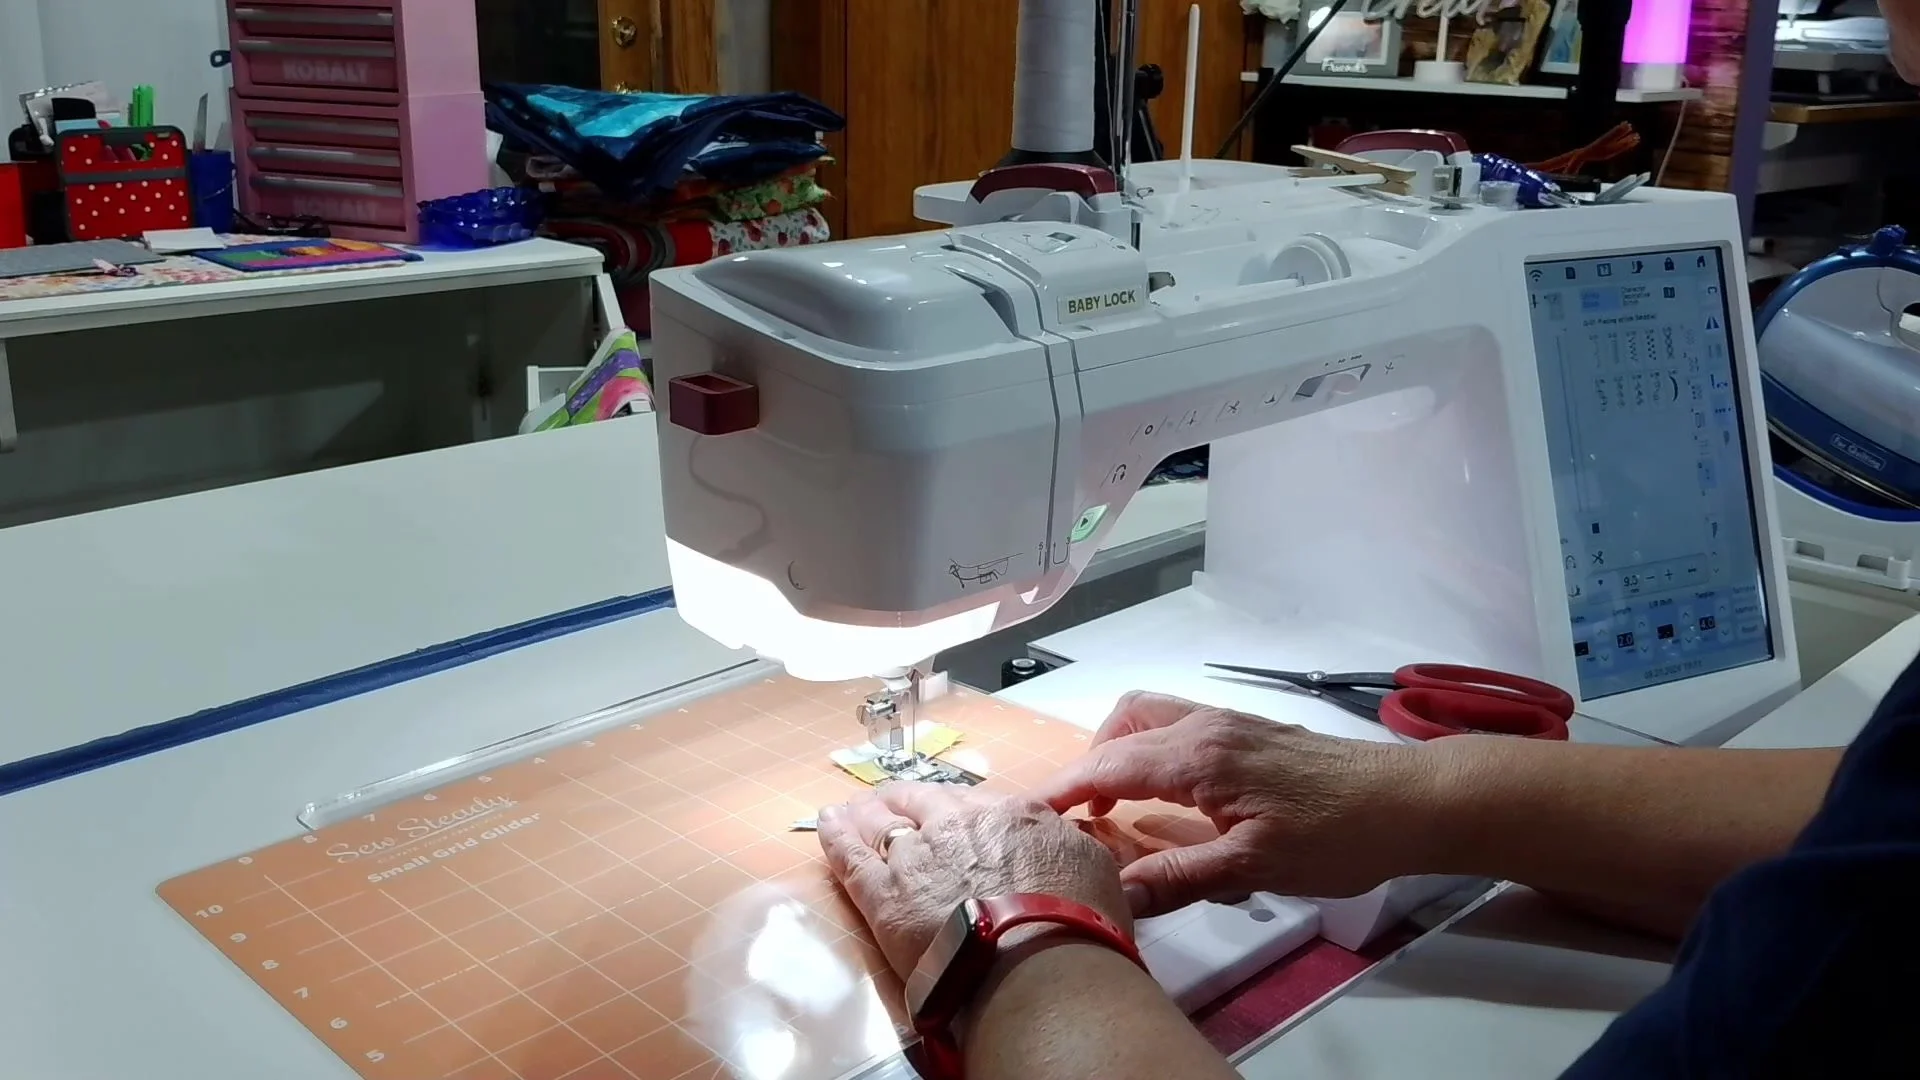
The little pieces deserve a little attention! I line up the triangle with the square, check the placement, and use an accurate quarter-inch seam. A leader helps me get started at the machine before sewing the unit.
Once you’re comfortable with the placement, you can chain piece the same step on several units. I demonstrate with a small group so you can follow the order without having a whole stack in the way.
Using a leader and sewing the first side of Unit A at the machine.
Press, add the second triangle, and check the corners
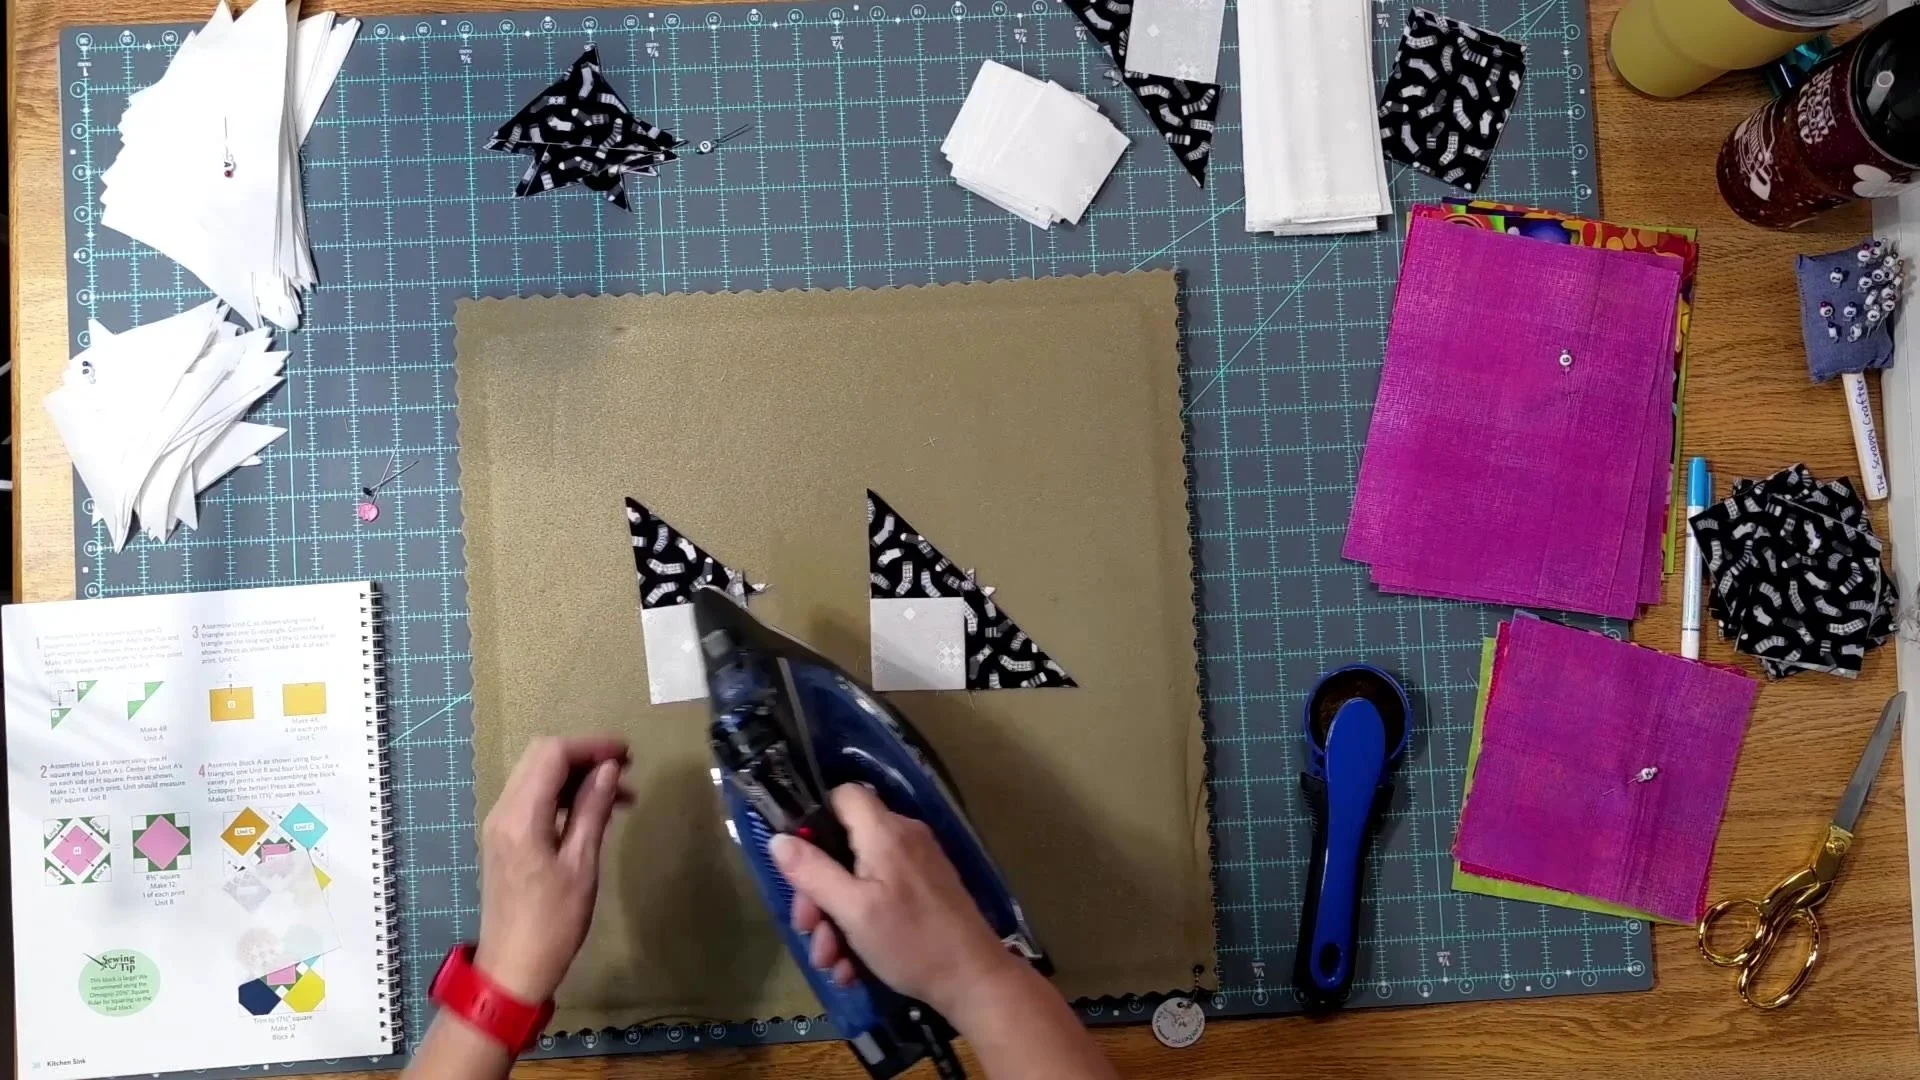
After the first seam, I press before adding the second triangle. I take a moment to line up that next piece and check the direction before it goes under the needle. Press the seams without dragging the iron around and stretching the pieces, then trim away the little dog ears.
Triangle direction is the detail to watch here. In the video, I show how I match the corners and check the shape before sewing. If your pieces look different from the demonstration, pause and compare them with your pattern before stitching. That quick check is much nicer than reaching for the seam ripper!
Pressing the Unit A pieces before moving on to assembly.
Build Unit B around the H center
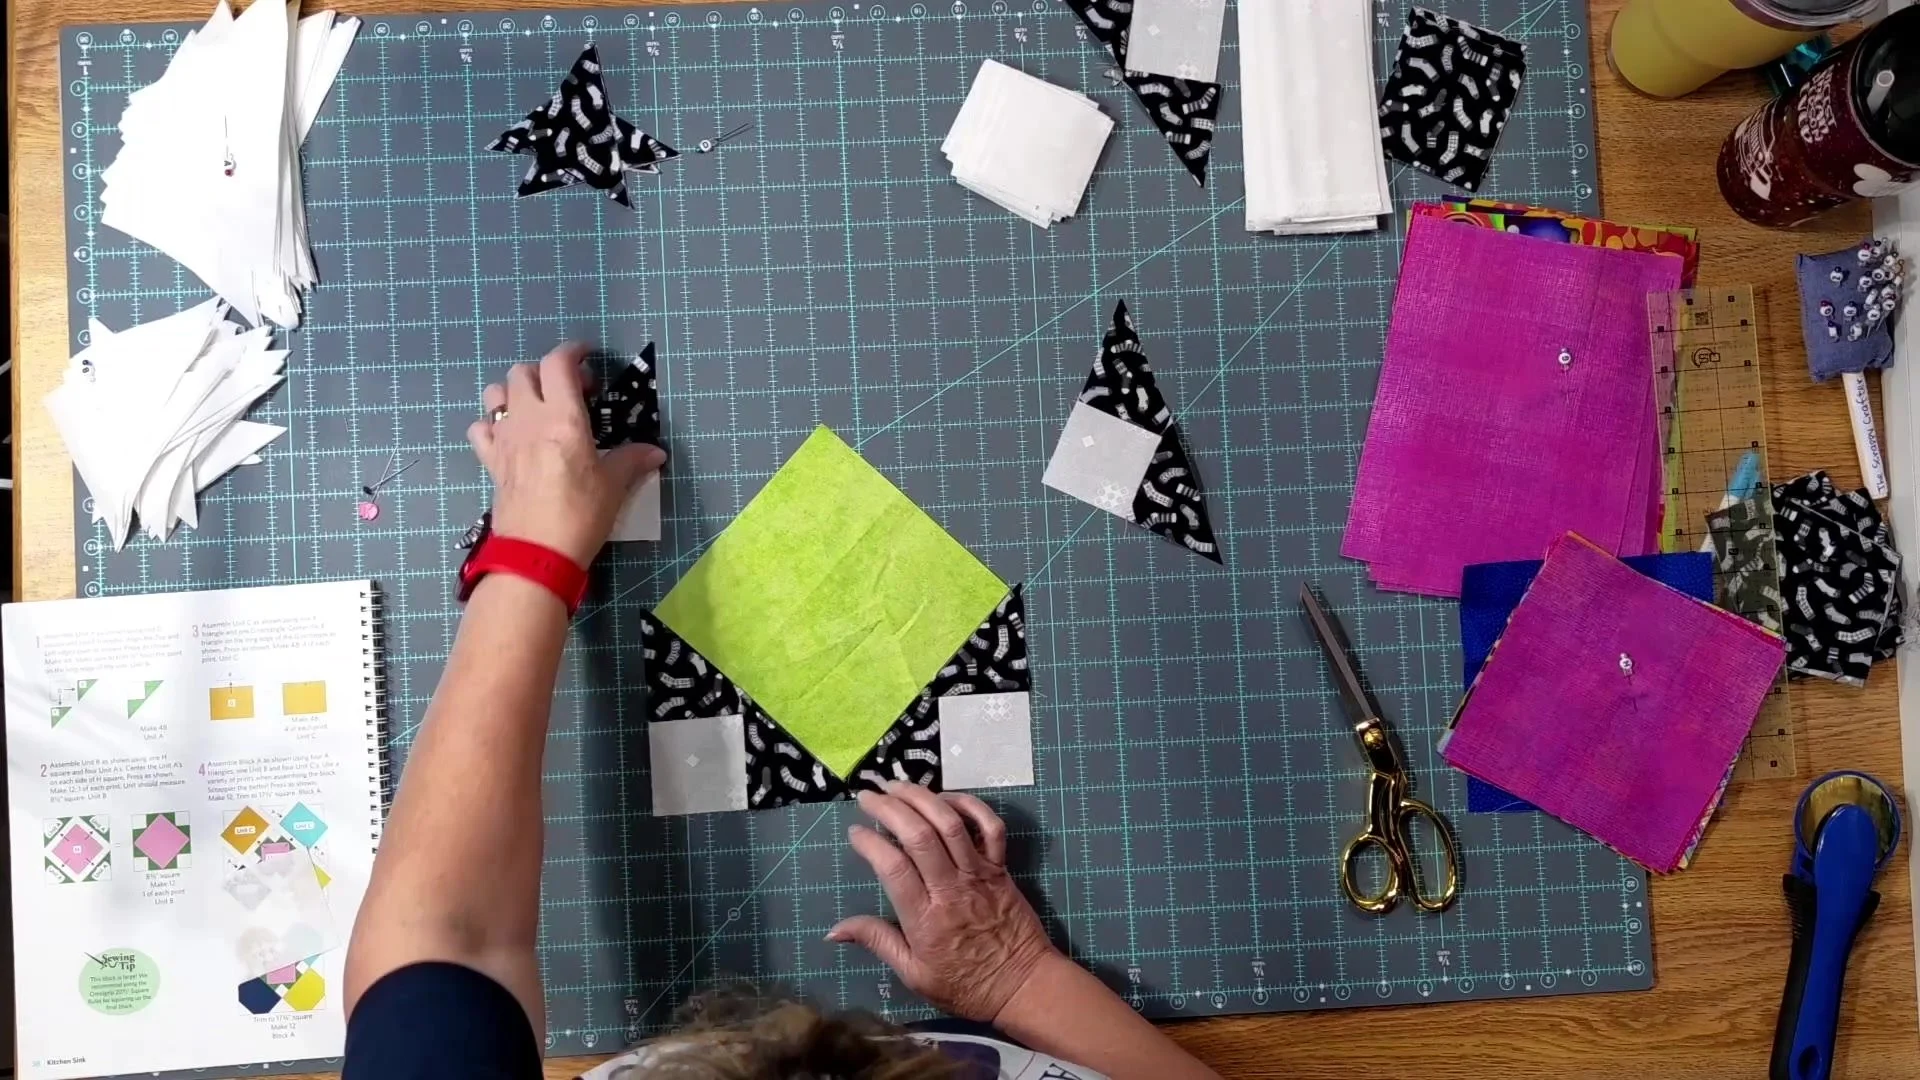
Now the little units start looking like something! Unit B brings four Unit A pieces together around the H center. I lay all four out first so I can check the arrangement. The bright green center makes it easy to see what we’re building.
I find the centers with a finger press, match them, and pin the first pair of opposite sides before sewing. Taking a moment to arrange everything on the mat makes the next steps easier to follow.
Four Unit A pieces are arranged around the green H center to build Unit B.
Add the remaining sides
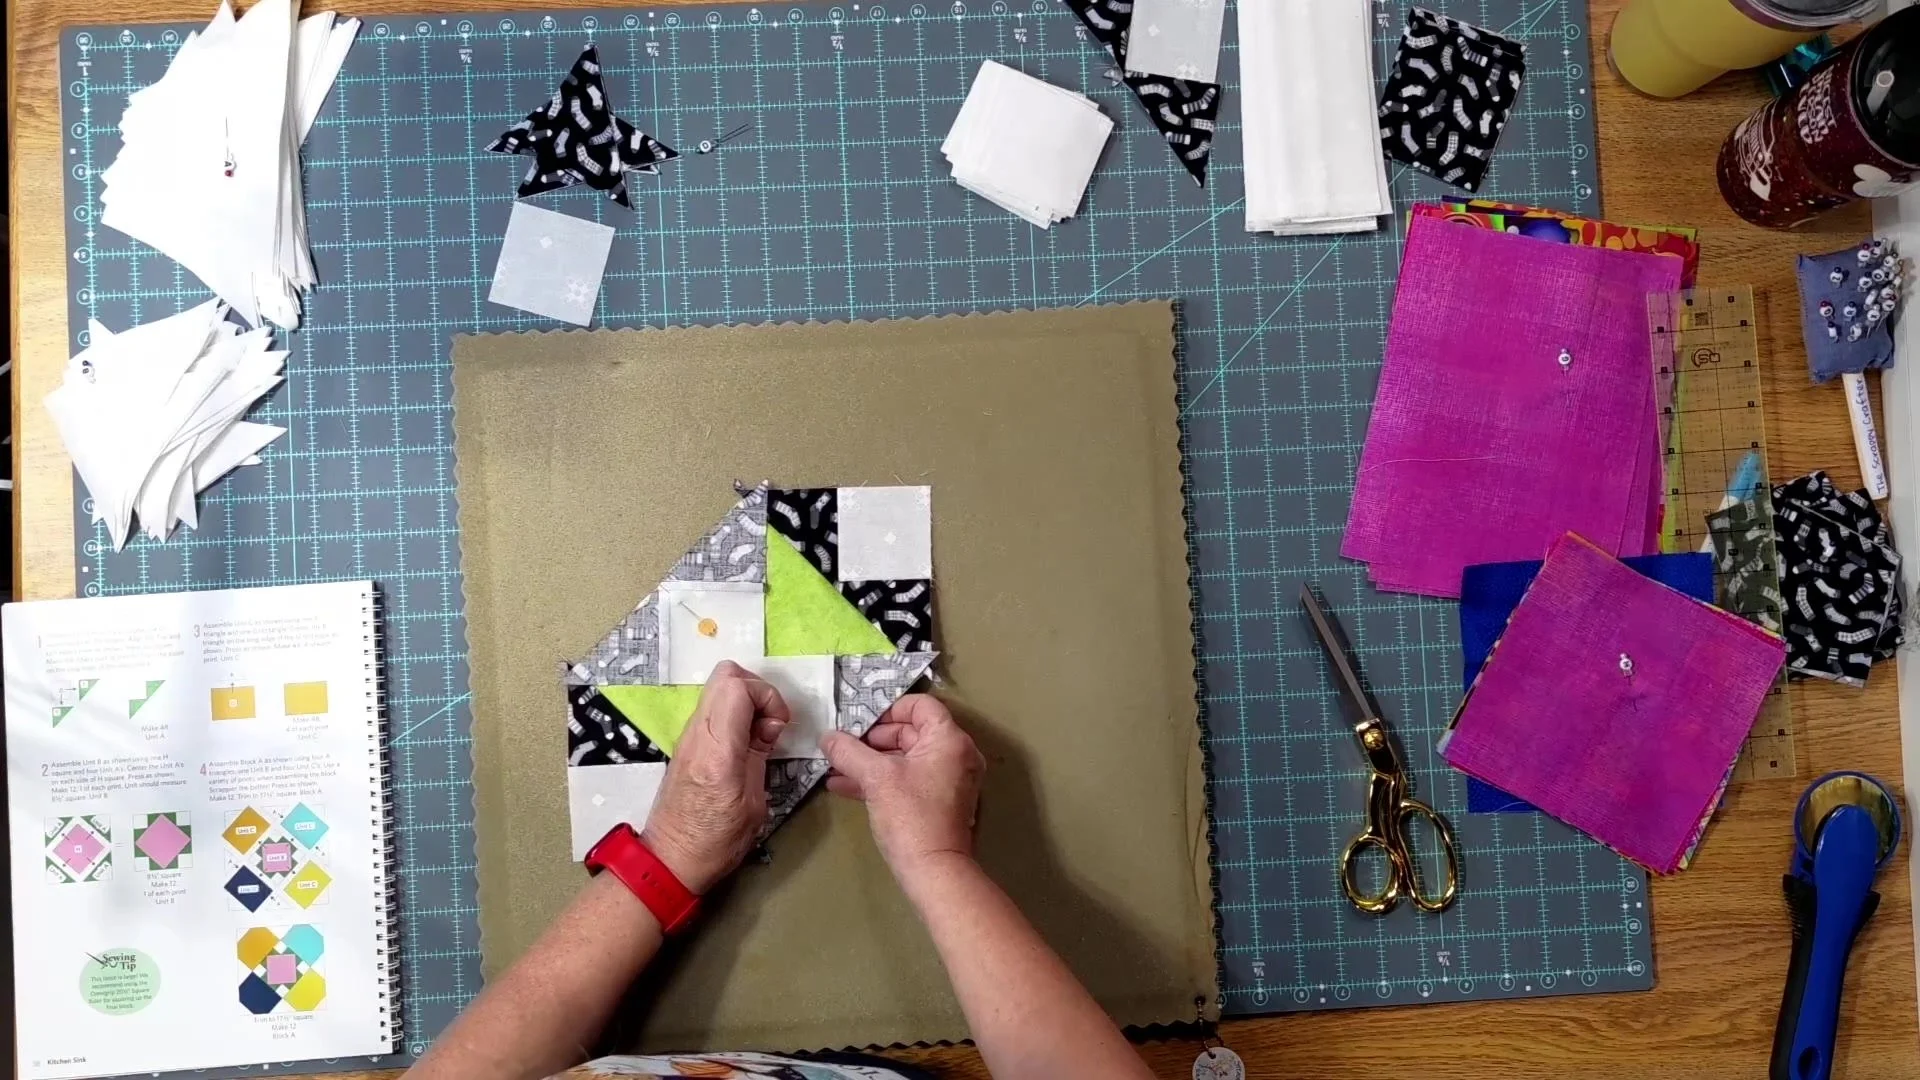
After sewing the first two sides, I press the seams and get the remaining pair ready. I show a clapper during the pressing step to help flatten the bulk. Then it’s back to matching the centers and securing the last sides. Pins work here, and I mention in the video that clips can work too.
Keep checking the arrangement as you go. The goal is to understand the sequence first; the rest of the units can follow once you’re happy with your first one.
Matching the remaining sides before the last seams of Unit B.
Unit B is ready!
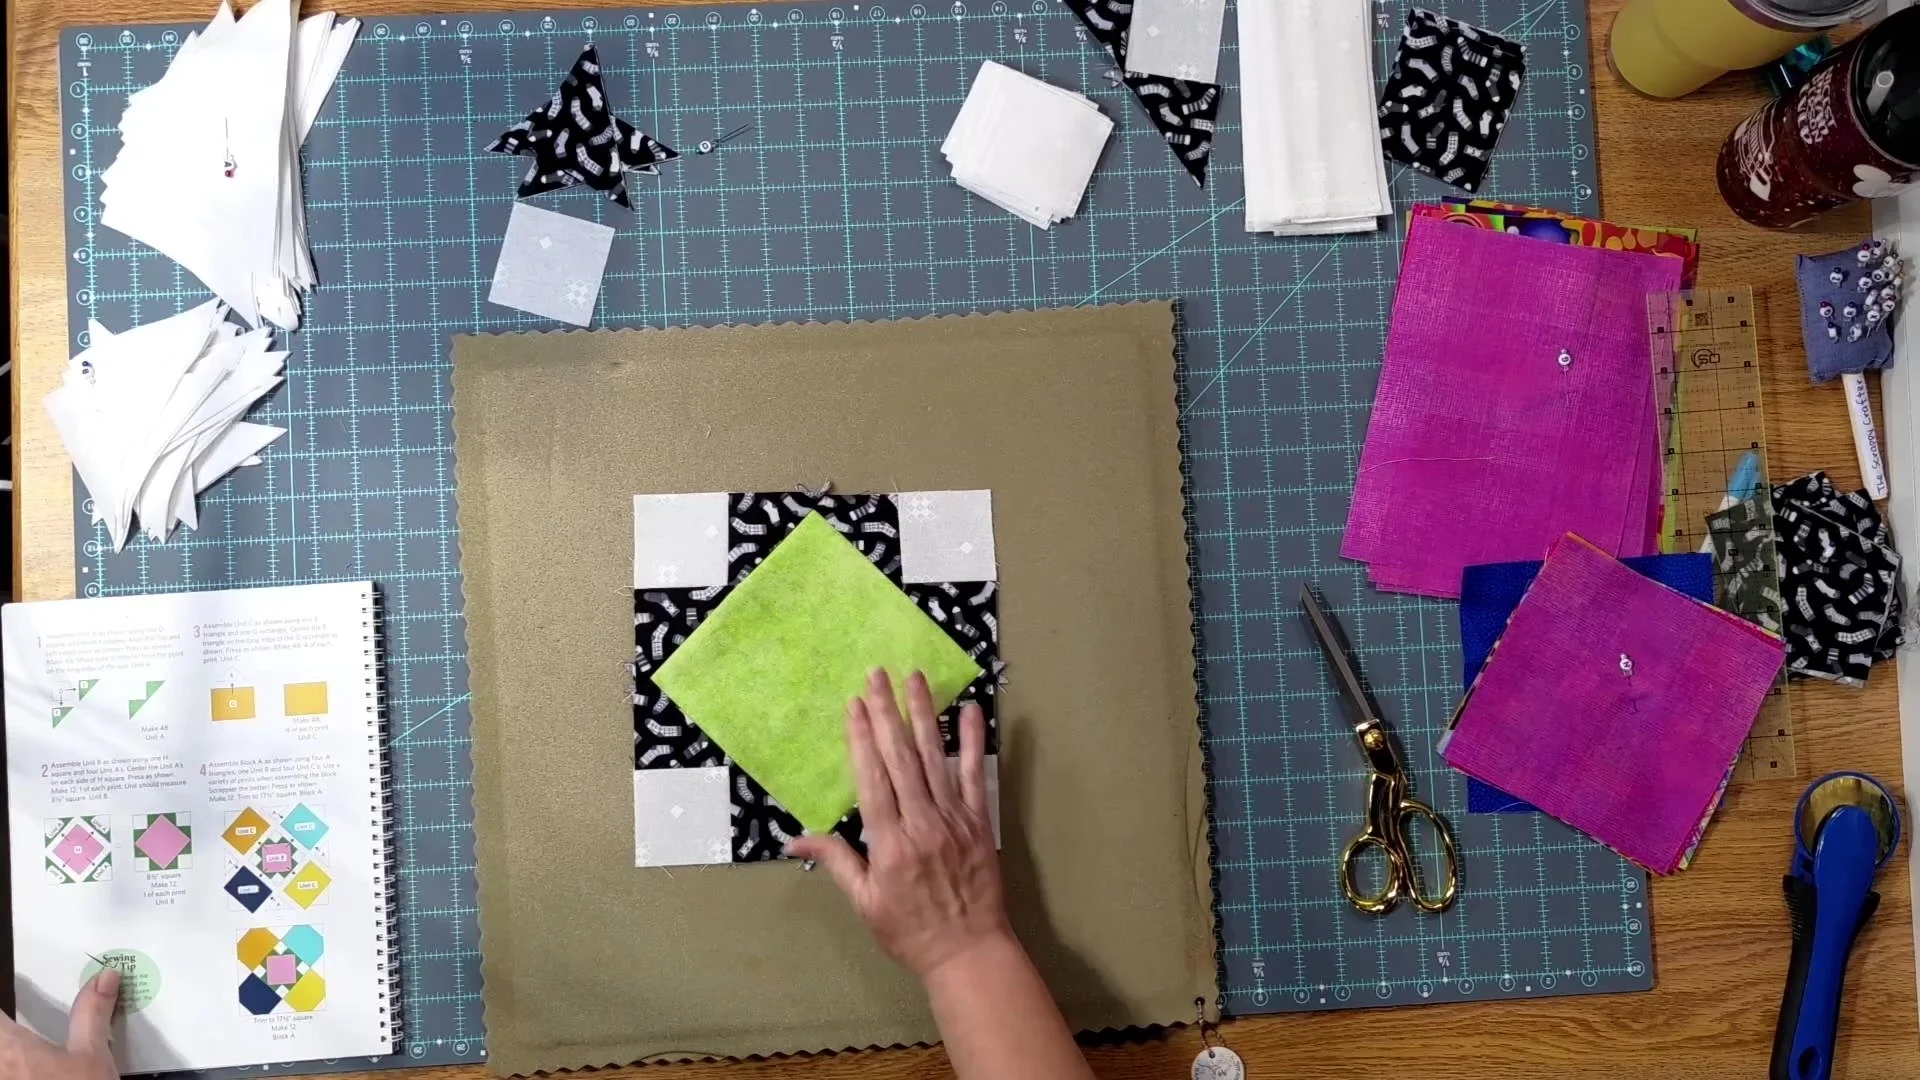
How cute is this unit? For the quilt, we’re making 48 Unit A pieces, which become 12 Unit B units. Finishing the first one gives you a sample to compare with as you sew the rest.
Next in the sew along, we’ll move on to Unit C and then assemble the full block. For now, let’s get those A and B units ready! Are you using a coordinated fabric collection, your scraps, or a little of both? Tell me what colors you’re sewing with in the comments.
The completed Unit B with its bright green center and black-and-white surround.
Watch the sew along
Watch the full Units A and B video for the close-up demonstrations. The triangle-alignment tip starts at 6:56, Unit B assembly begins at 7:30, and the finished-unit section starts at 13:02.