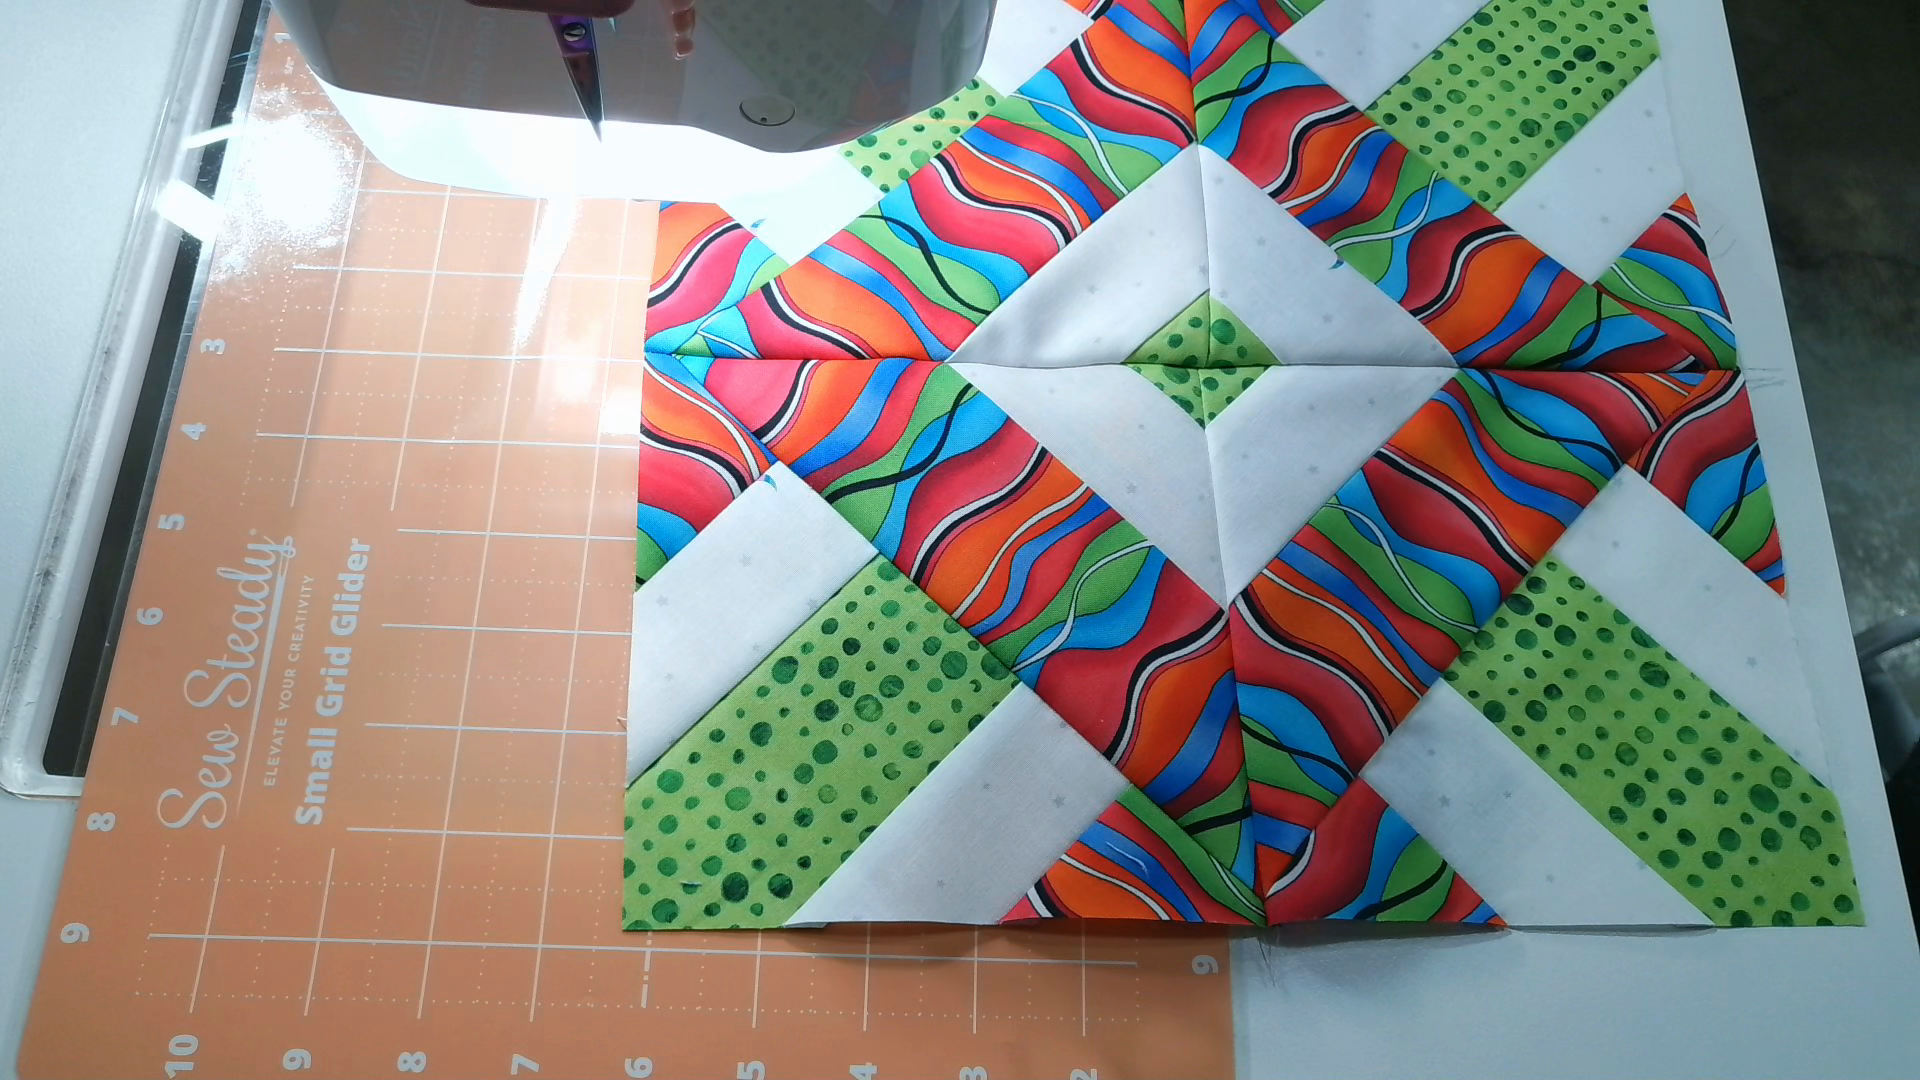
Hi everybody! There’s a beautiful quilt block hiding inside a simple set of fabric strips. In this video, I’m making a Hidden Wells block with bright, wavy prints, a little lime green, and a white background. A few seams and diagonal cuts reveal a design that looks so different from the strips we started with!
I love how this block creates secondary designs when you put more than one together. If you’re ready for a colorful sewing project, watch the full tutorial on YouTube or use the video below to sew along with me.
Start with a strip set
For the strip set shown in the video, you’ll need:
One 2½-inch-wide strip for the center.
Two 2-inch-wide background strips.
Two 2½-inch-wide strips for the outer edges.
Arrange them with the center strip between the two background strips and an outer fabric strip on each side. My white fabric is the background, but yours can be any color that works with your fabrics. Sew the strips together and press as you go. I finger-pressed during part of the demonstration, but I pressed between seams on the other blocks.
Cut, sew, and reveal the design
After straightening the end of my strip set, I measured its width at 9½ inches and cut two 9½-inch squares. Follow the video to see how I position the squares together before sewing a ¼-inch seam all the way around the outside.
Then comes the fun part: cutting across both diagonals! I used my rotating cutting mat so I could turn the work without picking everything up. Those cuts give us four units that open into squares—and suddenly the hidden design starts to appear.
Press gently, then trim to 6 inches
These units have stretchy edges, so I handled them gently while pressing. I pressed toward the side with fewer seams and used my Steady Betty pressing surface to help keep the fabric from stretching.
For the size I’m making in this tutorial, trim each opened unit to a 6-inch square. Line up your ruler’s diagonal line with the diagonal seam in the unit, then trim away the extra fabric and dog ears.
Don’t skip this step! In the video, I compare a block made with trimmed units to a larger one that wasn’t trimmed the same way. Keeping the units consistent helps all your blocks work together. I used a Trim-Lock ruler from Sew Be It Quilts, but you can use another suitable ruler—the important part is the 6-inch measurement and careful alignment.
Arrange the units and enjoy the reveal
Lay out the four trimmed units before sewing them together so you can see the Hidden Wells design take shape. That combination of lime green, white, and bright waves made me so happy! One block is fun, and repeating it gives you even more patterns to enjoy across a quilt.
There’s a little real-life sewing in this tutorial, too, including some very enthusiastic help from my granddaughter. It wouldn’t be my craft room without a little company!
A thank-you to Bob
Bob at Sewing Parts Online inspired me to try this block. I even had the chance to meet him in person, which was such a treat. Be sure to visit his Hidden Wells tutorial for the inspiration behind this project.
Jump to a step in the video
What colors would you use for your Hidden Wells block—bold prints, solids, or something from your scrap basket? Leave a comment on the video. I’d love to hear what you’re planning!
Have a great day, eat some chocolate, and be kind to everyone. Until next time, bye!
April